
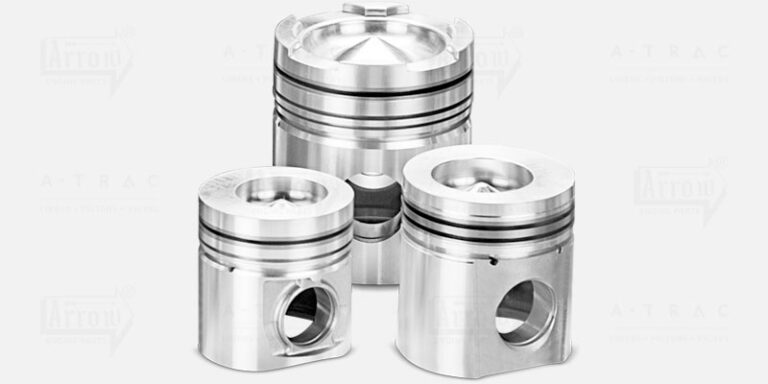
Proper installation of piston rings is crucial for a healthy and efficient engine. Here, we provide you with a step-by-step guide on how to install piston rings correctly. Whether you are a professional mechanic or a DIY enthusiast, this comprehensive guide will help you achieve a successful installation.
Step 1: Gather the Necessary Tools and Materials
Before beginning the installation process, prepare the required tools:
New piston rings (compatible with your engine)
Piston ring compressor
Engine lubricant
Torque wrench
Ring-expanding tool (if required)
Pliers or piston ring installation tool
Step 2: Preparation
Make sure the engine is in good condition for installation. Clean the cylinder walls thoroughly and check the piston for any burrs or damage. Follow the manufacturer’s guidelines for any specific installation instructions.
Step 3: Inspect and Gap the Rings
Inspect the new rings for any defects. Use a ring-expanding tool to adjust the ring gap, if needed. Ensure the gaps are consistent and evenly spaced.
Step 4: Lubricate the Rings
Apply engine lubricant to each ring before installation to prevent potential damage and ensure smooth installation.
Step 5: Begin the Installation
Start by inserting the bottom compression ring into the cylinder bore. Use a piston ring compressor to compress the ring and slide it into the cylinder until it’s seated correctly.
Step 6: Install the Second Compression Ring
Repeat the same process for the second compression ring and verify its correct positioning before proceeding.
Step 7: Install the Oil Control Ring(s)
If your engine has an oil control ring, carefully install it above the compression rings. Follow the manufacturer’s instructions for correct positioning and seating.
Step 8: Verify Ring Placement
After installing all the rings, verify each’s correct placement and that they move freely without binding.
Step 9: Double-Check the Ring Gaps
Double-check the ring gaps and adjust if necessary using a ring-expanding tool.
Step 10: Reassemble the Engine
With the piston rings correctly installed, reassemble the engine following the manufacturer’s instructions, paying attention to torque specifications.
Conclusion:
By following these step-by-step instructions and utilizing the required tools, you can ensure a successful installation of piston rings that promotes optimal engine performance and longevity. Be sure to consult your engine’s manufacturer guidelines and specifications throughout the process to achieve the best results.

A top ranking student throughout, Akshay joined the family business right after graduation in 2006. After working for over 10 years in Agra Engineering Co, he decided to start his own company. Now as a partner in this new company he looks after business development and vendor management. A keen fitness enthusiast he tries new forms of exercise – crossfit, calisthenics, pilates, yoga and swimming. He’s an avid golfer as well – one of his many hobbies.
